Making a Linen Quilt | My First Quilt
Home »
29.07.2023
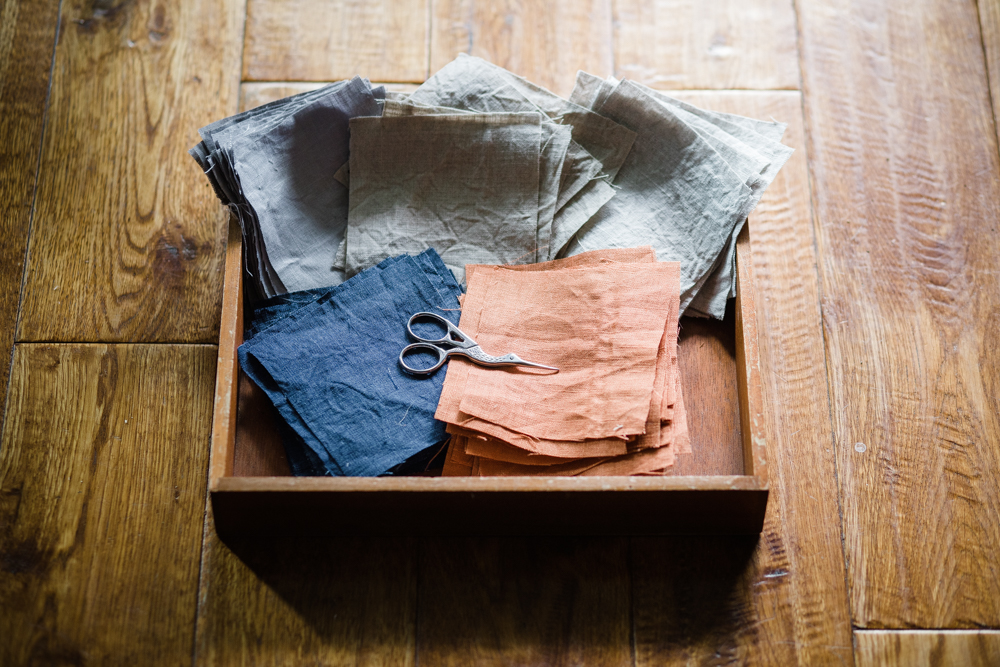
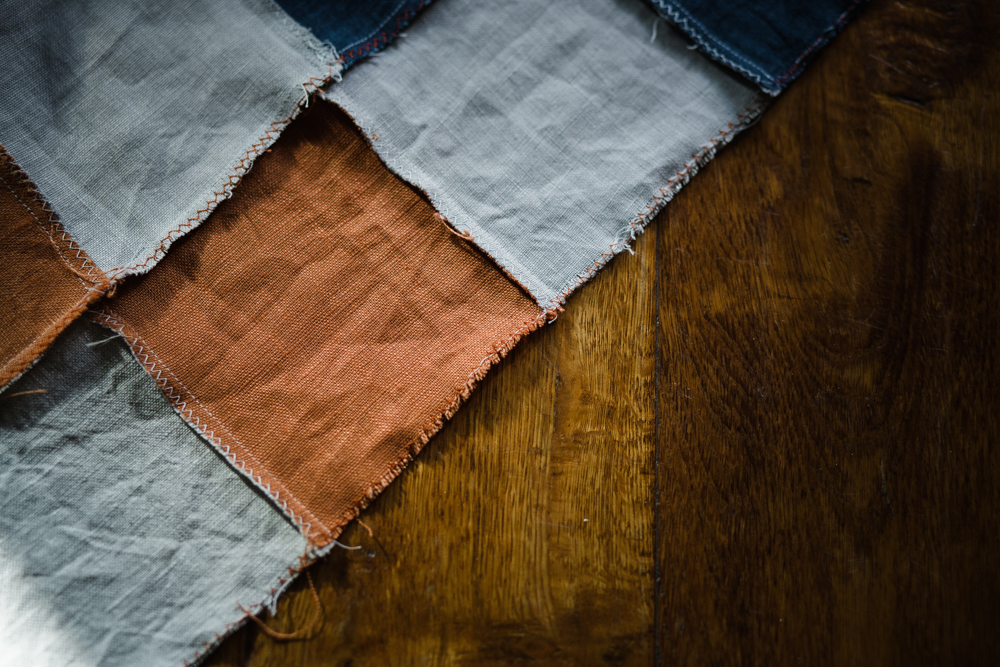
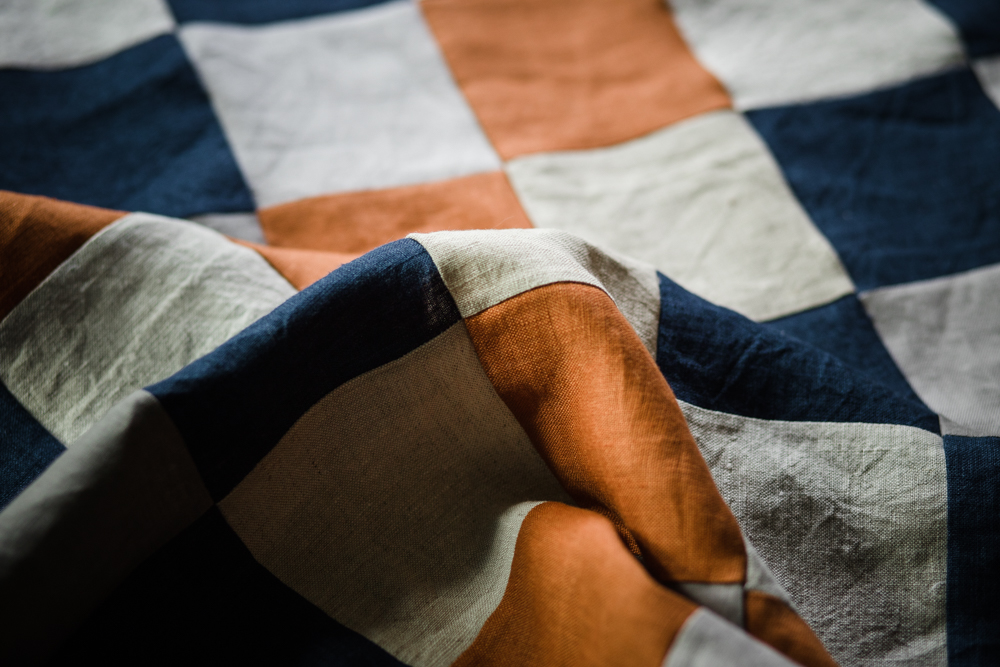
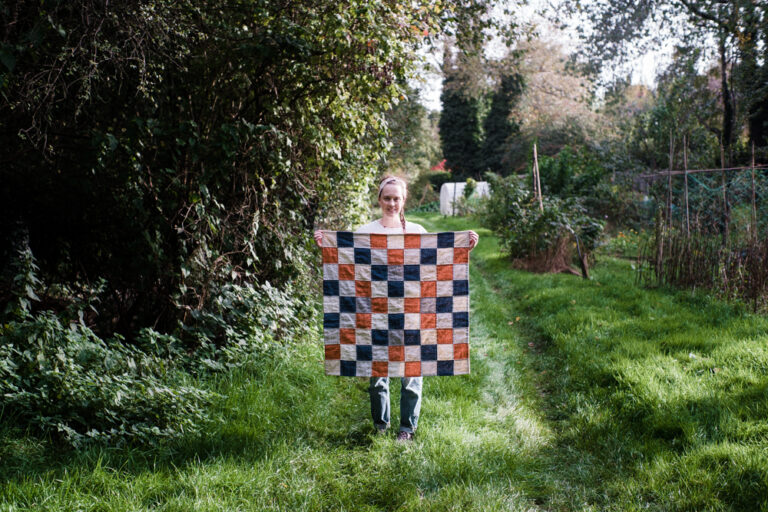
I’m making my first quilt. It’s a 90cm by 90cm lap quilt, and the quilt top is made with linen remnants I bought as a bundle from an online fabric store for £5. The bundle was made up with scraps and ends of rolls, and it included a mix of colours – indigo, burnt orange, oatmeal, stone and slate. It’s a mix of Irish linen and washed linen, and I still have plenty left over after cutting the squares for this quilt. Some fibres feel coarser than others, but it’s all medium weight. When I bought the linen last autumn I didn’t necessarily have a quilt in mind, but as I was going through my mum’s craft supplies and helping Dad tidy the house shortly before Mum’s hospitalisation and move into dementia nursing care, I found a 90cm by 110cm piece of quilt wadding in her craft box. Without being able to ask her, but knowing she liked natural fibres too, and judging by the look and feel of it, I think it’s cotton. Dad says she had planned to make a quilt for one of my nephews, and the pile of cotton fabric in children’s prints confirmed it. Whilst the children’s prints went to a charity shop, I brought some of Mum’s other fabrics home with me and thought about trying my hand at quilting to make use of the wadding I had found. I’ve never made a quilt before, but I know how to sew.
I thought I would share a little bit about my process in case it’s of help or interest to anyone else out there, if you’re either embarking on your first quilt, or thinking of making a quilt with linen. Linen behaves differently to other fibres and requires a few extra steps, so this post also includes tips for quilting with linen.
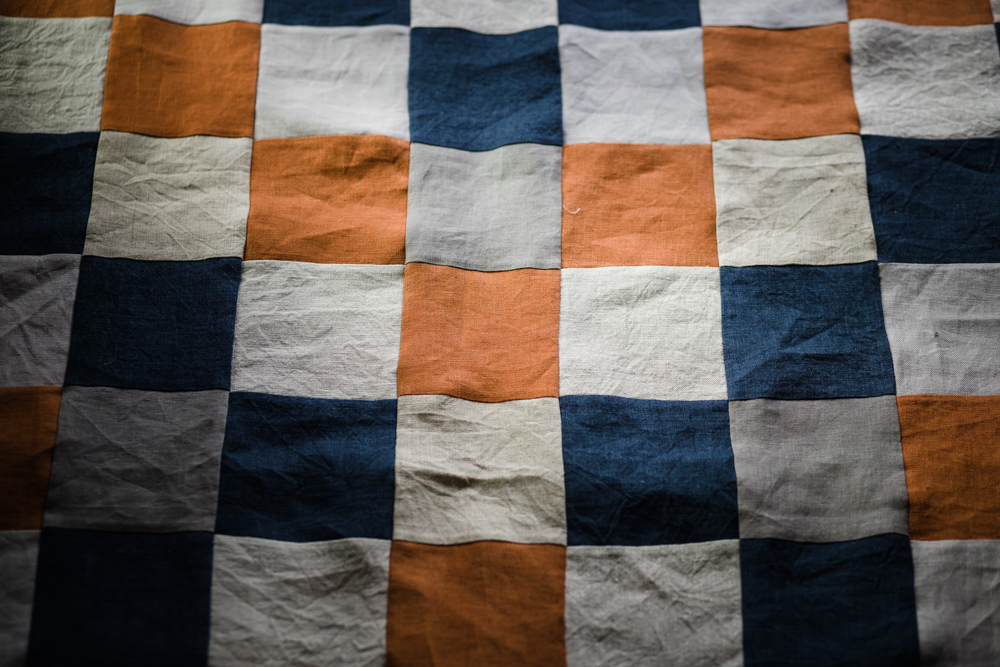
My quilt dimensions were dictated by the size of the piece of wadding / batting I found in Mum’s craft box, and so I knew that my quilt top couldn’t be any larger than 90cm by 90cm if I wanted to keep it square. I took a photo of my fabrics laid out in natural light and then put together a template in Photoshop, using the colour swatch tool to sample colours. This helped me work out a balanced design and know how many of each colour square to cut. In the end I designed a 9 by 9, 81 square quilt top measuring 36 inches or 90cm square. Each of the finished squares measures 4 inches, but they have a 1/4 inch seam allowance on every edge, so the squares I cut are actually 4.5 inches. I use metric in everyday life but my quilting square is imperial and so is my quilting foot for my sewing machine, so I used inches for ease of cutting and sewing. In the UK a lot of our sewing equipment is sold with imperial measurements marked as guides, so using metric for sewing isn’t straightforward and it’s one of the few things that I’ll yield and use imperial for in order to keep things simple.
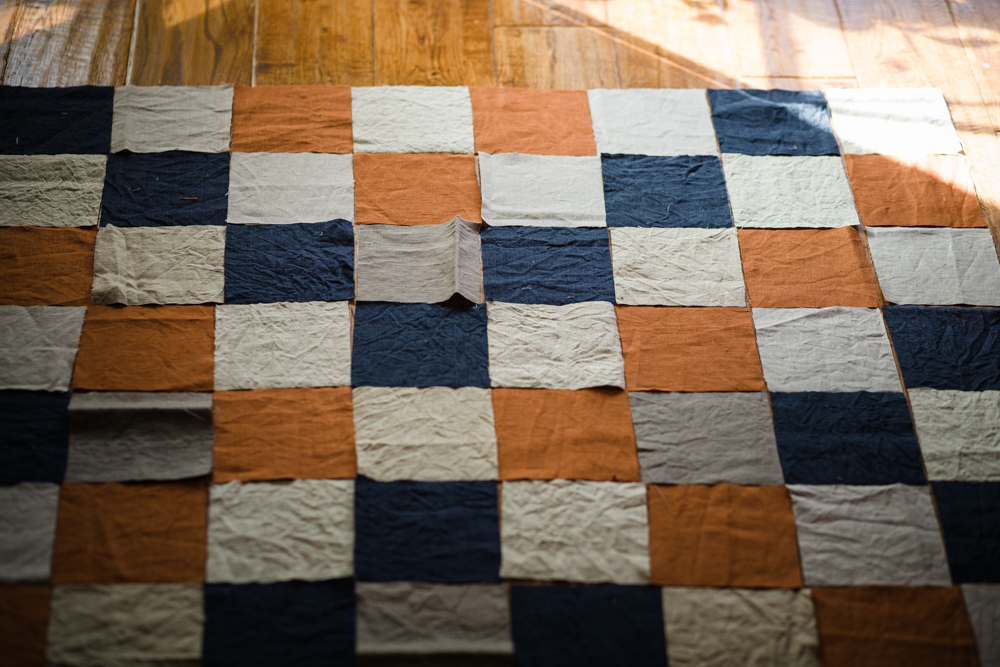
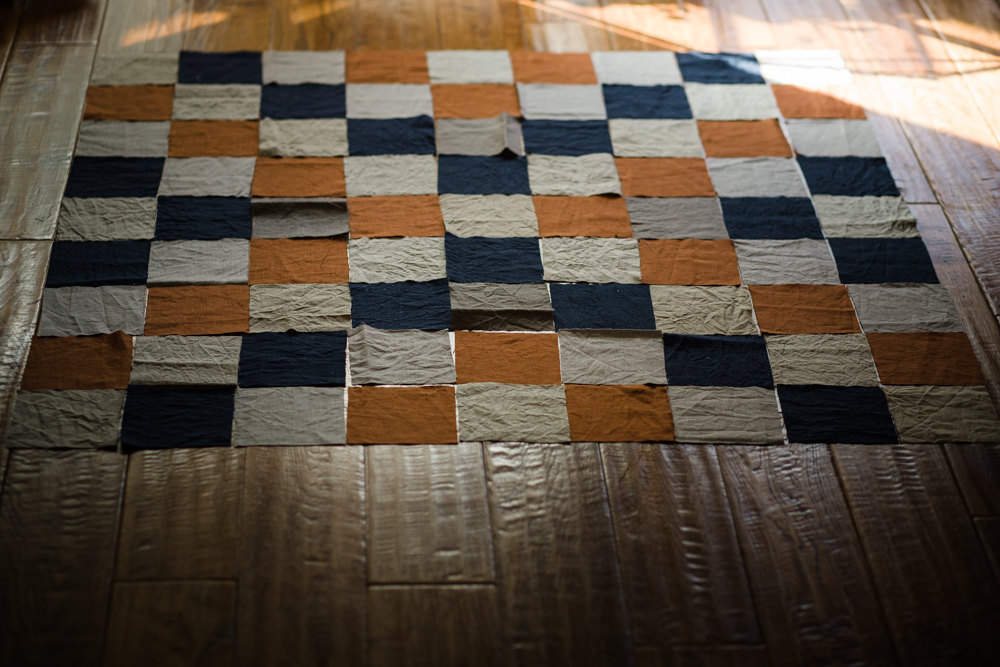
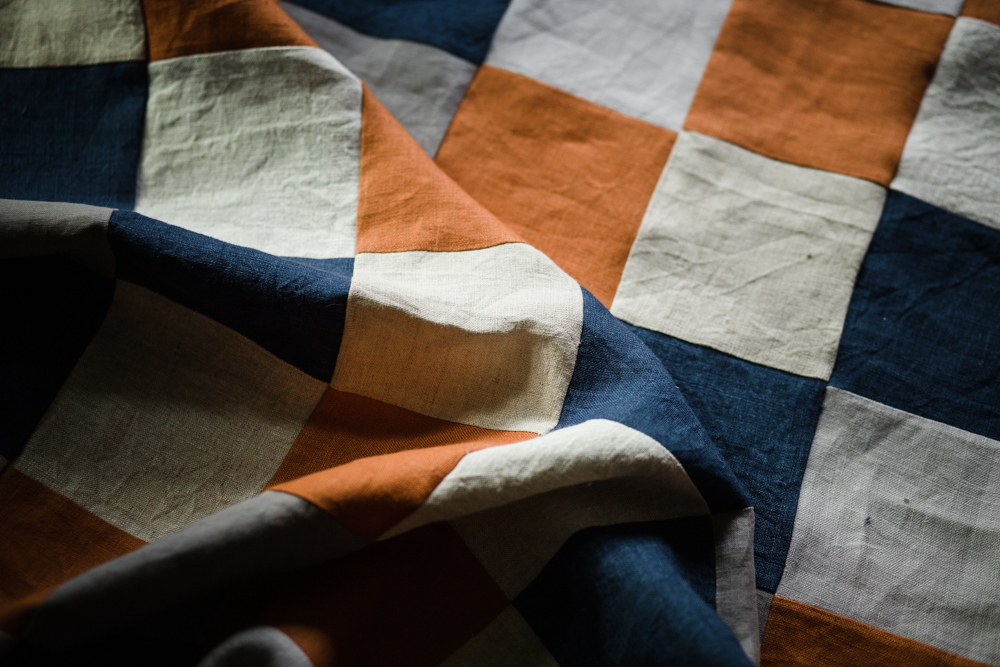
I should note that I prewashed my linen before cutting it. I hand washed each colour separately in a basin, using my normal washing powder, then I drip dried them on the washing line hanging over my bath in my windowless bathroom. If you have outdoor space for hanging laundry, you can hang your linen in the shade so that the colours don’t fade. Linen and cotton shrink, and the colours can bleed. It’s best to get this shrinkage and colour bleeding over and done with as much as possible before sewing, as otherwise it will shrink and bleed later on, perhaps after you’ve put 50 hours or more into the project. It would break my heart to see my quilt shrink and warp after all that effort, so prewashing is essential. After washing, iron your fabric, as it will make cutting much more accurate and also much easier. After cutting my squares on a self healing mat with a rotary cutter, I laid them out on my living room floor to visualise the quilt. This was a satisfying first step, and a relaxing way to spend a wet and windy afternoon.

The next day I assembled the squares into rows, and the rows into a block. Linen unravels very easily, so I handled the squares very carefully and made sure to overlock seam allowance edges with zigzag stitching after completing each row. I don’t have an overlocker, but zigzag stitch with a regular sewing machine is a good substitute for a project like this. It took ages, but it’s worth the extra time and effort because it means the seams won’t unravel and the quilt will last longer. If you are working with linen, whether for sewing clothes or a quilt, do take the time to secure your edges. Working with a rotary cutter rather than scissors also helps with creating neat edges that have fewer loose threads.
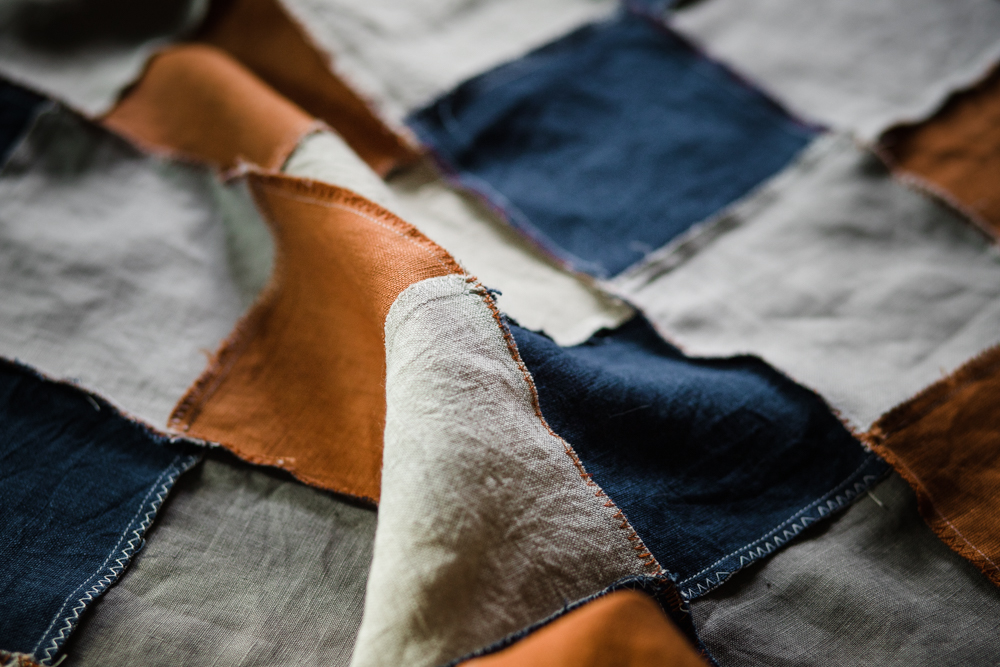
To match the corners precisely, I nested my seams. Nesting seams means pressing or ironing the seams of each row to alternate sides, so that row 1 faces left and row 2 faces right, row 3 left, row 4 right. I then pinned through the seams, right sides together, weaving the pin in and out of the seam a few times to make sure that the seams were well matched, before sewing the rows together. After connecting the rows, I zigzag stitched the horizontal seams, trimmed loose threads, and zigzag stitched the perimeter.
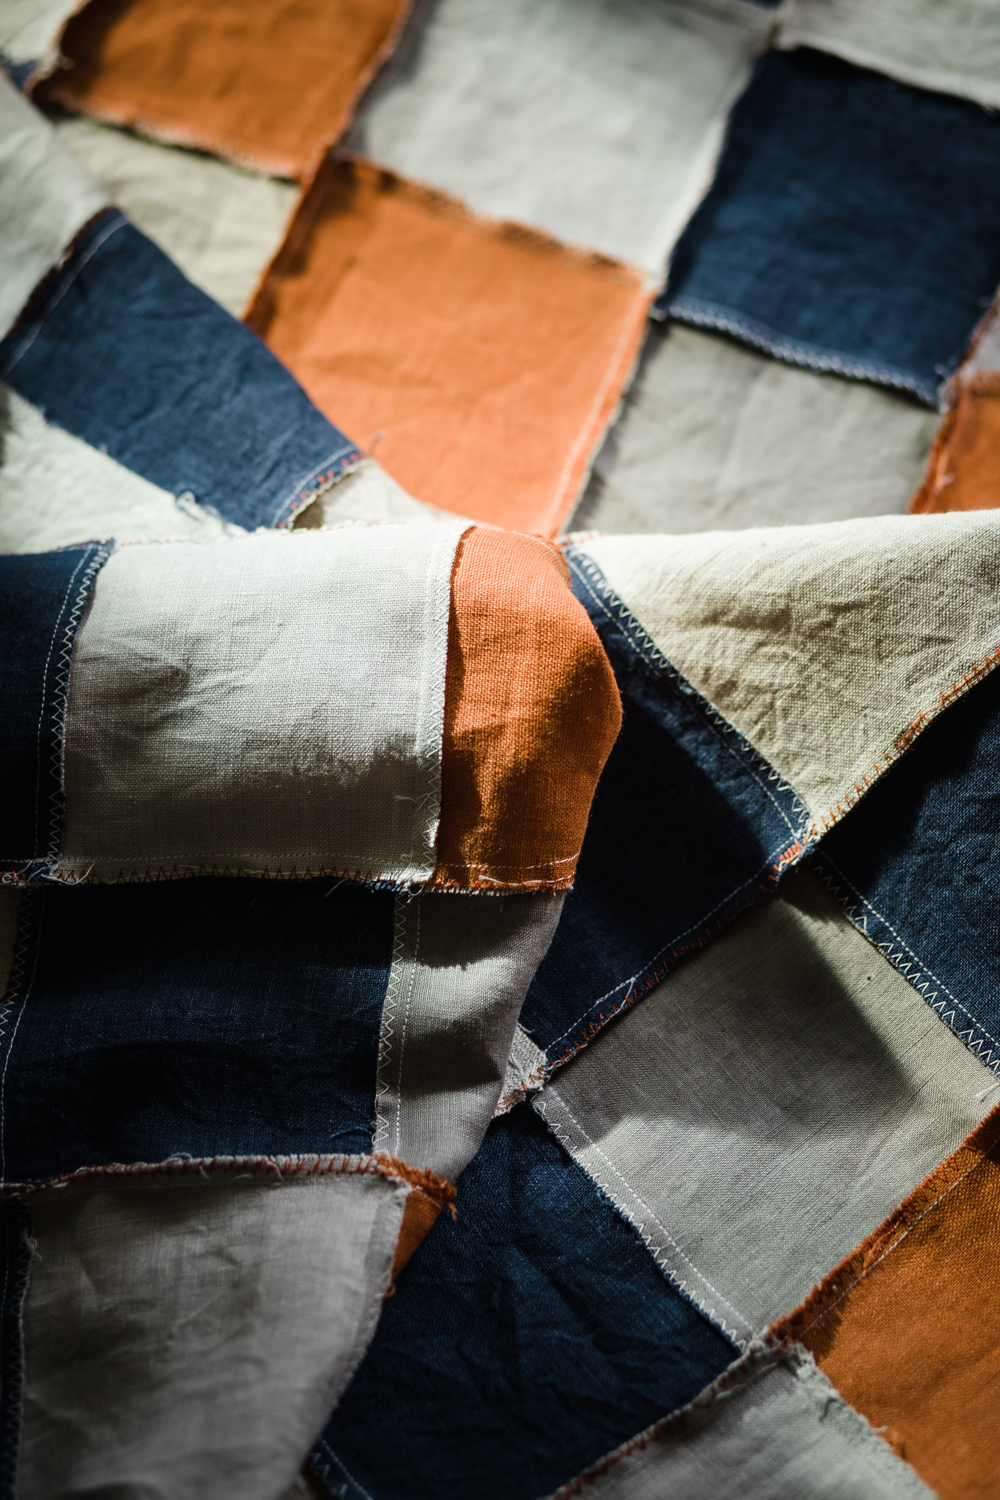

Next, I ironed the whole quilt, to try and make the lines and corners as crisp as possible before assembling my quilt sandwich. The beauty of linen is that it’s a natural fibre and has a mind of its own. It doesn’t lay straight, or sit flat, and it has a wonderful texture. All of these qualities make it irresistible to touch and to look at, but tricky to sew with as it flows freely and doesn’t sit neatly on a cutting table. When cutting the squares, I made sure to line up my quilting square precisely on the grain, to try and minimise warp. The squares are accurately cut, but some of the corners slipped under my needle and required a little bit of massaging and several iterations of pinning, unpicking and sewing to get the corners to line up perfectly. As you’re sewing, go slowly over corners watching closely so that the fabric doesn’t slip from its pinned position, and take your foot off your pedal entirely to check each corner has matched once it has run under your presser foot before carrying on. It’s much easier to unpick one square than a whole row. If you take a wabi-sabi approach to crafting and don’t mind corners being slightly off, then that’s fine too, it’ll certainly be quicker for you!
In total, preparing the quilt top took me 14 hours. Quilting is slow, that’s part of the fun.
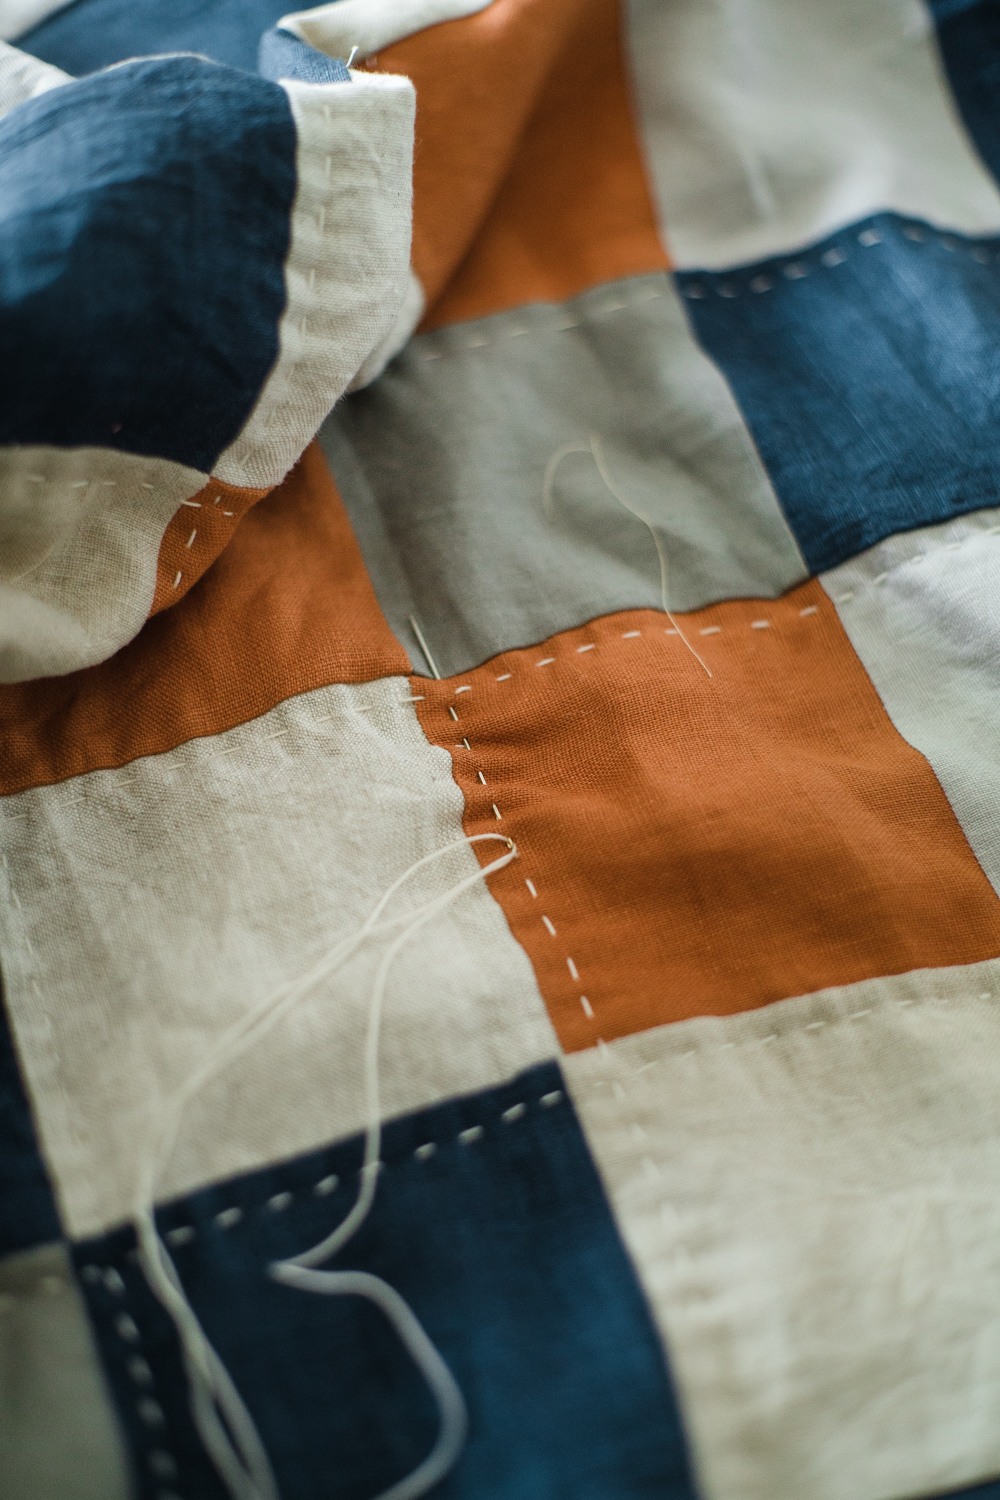
I made my quilt sandwich upside down, taping my quilt top, right side facing down, to my living room table with paper parcel tape. Then I stretched the wadding over it, and finally a piece of unbleached cotton muslin on top, for the backing. Once I was happy with the position of the layers I pinned them together with regular sewing pins, then tacked them together with thread, then removed the pins.
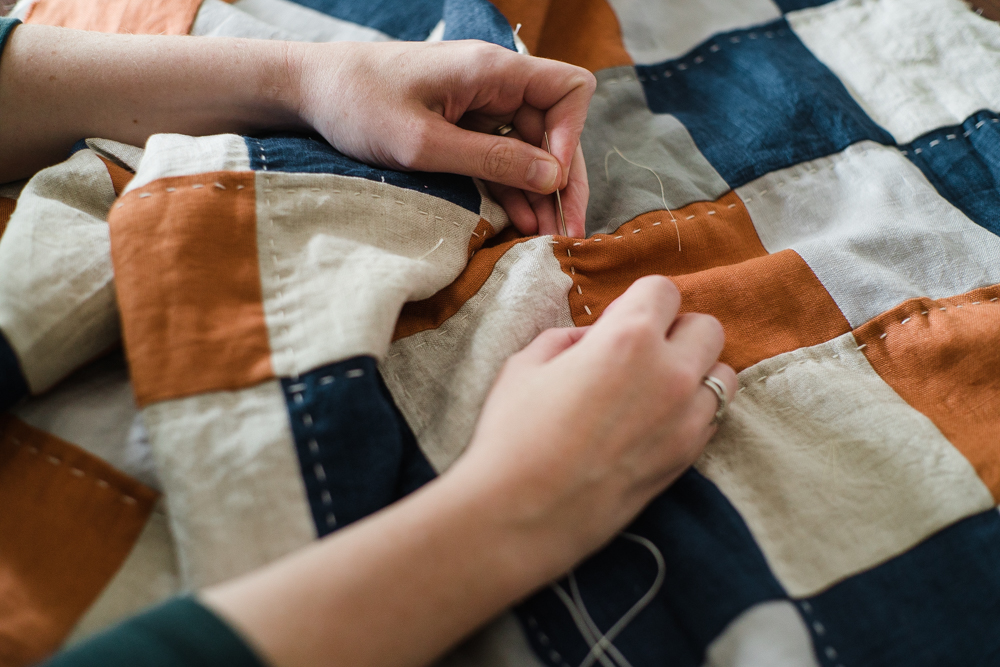
I’m currently hand quilting it using three ply cotton thread and a sashiko needle, which will take a long time. I’m doing echo quilting, in straight lines either side of each seam, with 32 lines of quilting. Each line of stitches takes me about 30 minutes because I work slowly and will load and unload my needle of stitches if it’s not quite straight or they look uneven. I’ll share an update once I’ve finished quilting and have started on the binding. Here’s a video I made to share a little bit of the process of hand quilting a linen quilt:
Leave a Reply